Y’all, we’re half-way through our week! Tonight is my brother’s and brother-in-law’s first basketball game- Luke and I are excited. This is the first year his brother is on the varsity team, so it’s going to be fun! We spent so much time at basketball games while we were courting….now we’re married. So crazy!
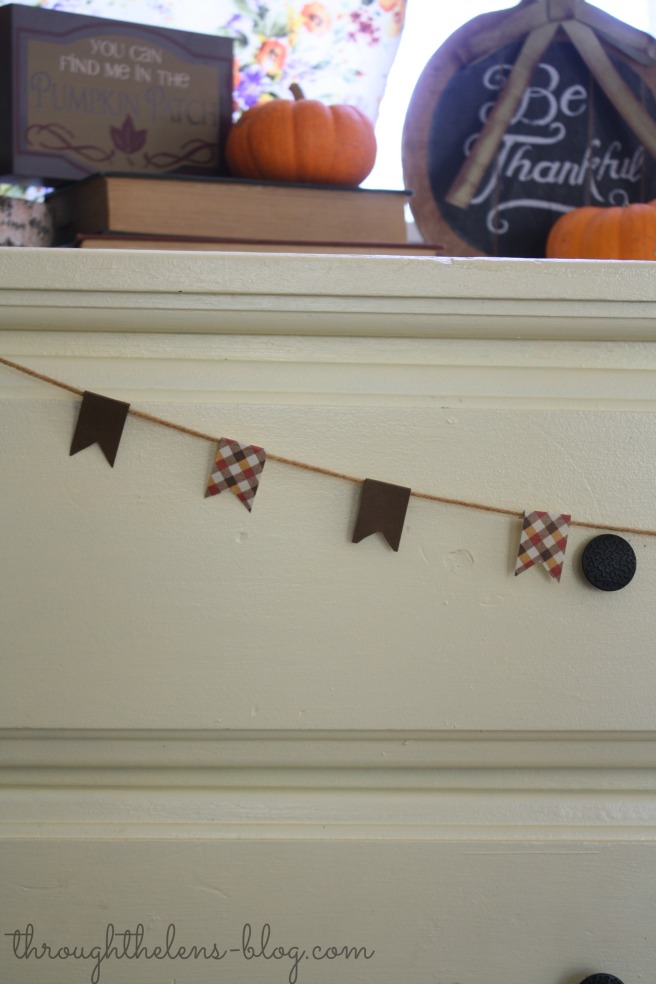
Today I want to show you how I made this super quick, super easy Mini Fall Bunting. It took me all of 30 minutes and I love how it looks! I really think it pulls the whole Fall Vignette together. What do you think?
I decided to do a “mini bunting” because the dresser is so small. I didn’t want to make the dresser look too heavy, or distract from the decor on top. I really think it complements it well.
All you will need is:
*Scissors
*1/2 page (or scraps) of patterned scrapbook paper
*1/2 page (or scraps) of a plain colored paper
*Twine
*Tape or glue
Directions:
Trace out your pattern on both papers. You can do any design or any size. This is what mine looked like….
Cut out each piece. As you can tell, I drew the flags to be longer than I actually wanted- to have a flap to tape or glue down. Once I cut them out, I measured how long I wanted my twine to be and cut that to size. I then hung my twine up, folded the tops of the flags over and taped it on the back to hold them down. Voila! That’s it!
Isn’t that easy? And you can use any design of scrapbook paper to alter the look for your style. Super cheap, easy and cute!
Sincerely,
Hannah Diane
*Linking up at Dream Create Inspire


That is sooo cute! I love that its a smaller banner. It adds just the right touch!
Thank you!
This is just adorable!! And I love that it really is something the kids can help create. Thanks for sharing on Dream.Create.Inspire! Just love this 😉
~Tabitha
http://freshmommyblog.com